No-Bake Oreo Pie Without Cool Whip
After a swell of hot days this early spring, I re-remembered how nice it is to have the option to whip up something sweet without turning on the oven. This Oreo pie is one of those recipes that’s every bit as filling, tasty, and well-rounded as its baked dessert counterparts, but it’s just much easier to make, and no 350-degree oven warming up your kitchen.
This recipe is adapted from my well-loved no-bake cheesecake and is served over a crisp, easy Oreo crust. Just 15 minutes of prep (you don’t even have to separate the Oreos from the cream with this one!), and it’s ready to go in the fridge (or, if you want things extra-frosty, the freezer)!
Oreo pie is not too sweet, making it perfect for those who prefer their desserts on the less-cloying side (also making it perfect for summer when you don’t want anything too heavy).
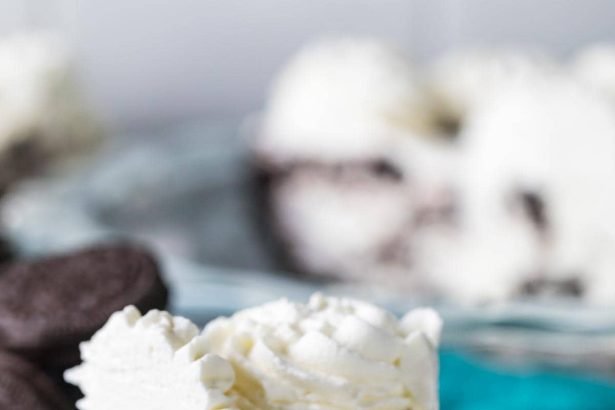
Using homemade whipped cream (rather that stuff in the blue plastic tub) means we get a more pure, fresh flavor and a melt-in-your-mouth lightness (and without too much artificial taste — we get enough of that from the Oreos 😉). Contrasted against a crisp cookie crust, it’s a dreamy combination.
Why you should try it:
- Less than 10 ingredients required.
- No-bake: perfect for hot summer days!
- Only 15 minutes to prep.
- Customizable: use your favorite Oreo flavor.
- Perfect for your holiday dessert table.
What You Need
Just 7 ingredients are needed for my Oreo pie recipe. Here’s what you need.
- Cream cheese + sour cream. This tangy duo is a must in all of my cheesecake recipes. These ingredients not only lend themselves to the sturdiness (cream cheese) and creaminess (sour cream and cream cheese together) of the pie, but they also counter the sweetness of the sugar, making this a not-too-sweet dessert option. Make sure to use full-fat, brick style cream cheese; the spreadable kind sold in tubs just won’t set up properly.
- Oreos. Use regular or “double stuf” Oreos and there’s no need to remove the filling (for either the crust or the pie filling).
- Heavy cream. Double cream or whipping cream will also work here. Note that if you use organic (as I used in the photos) it doesn’t whip up to be quite as fluffy as non-organic.
- Butter. Just a bit to form the crust. You can use either salted or unsalted butter here–either work fine.
- Vanilla. Feel free to use homemade vanilla extract if you have some on hand!
Remember, this is just an overview of the ingredients I used and why. For the full recipe please scroll down to the bottom of the post!
How to Make Oreo Pie
- Pulse the Oreos to fine crumbs and add melted butter. Toss everything together until the crumbs are well-coated.
- Firmly press the crumbs into a 9.5″ pie plate to form a crust. Set this in the fridge to chill while you prepare your filling.
- Make the whipped cream: Whip the heavy cream and half the powdered sugar to stiff peaks, then set aside.
- Combine the cream cheese, remaining sugar, sour cream, and vanilla until smooth. It’s important that your cream cheese be room temperature before you use it, otherwise it tends to stay pretty lumpy and you may have lumps in your pie.
- Fold together the whipped cream and cream cheese mixture until uniform. Be gentle with this step and use a spatula (not an electric mixer), as we don’t want to deflate our whipped cream.
- Gently fold in the broken Oreo pieces so they are evenly distributed. Again, do this part by hand!
- Pour into prepared Oreo crust and use a spatula to smooth the top. Cover with plastic wrap and let chill in the fridge for at least 6 hours, preferably overnight. For a firmer cheesecake, you can freeze instead.
- Decorate and serve! Remove the plastic wrap and decorate with piped homemade whipped cream. I like to use an Ateco 846 tip for this!