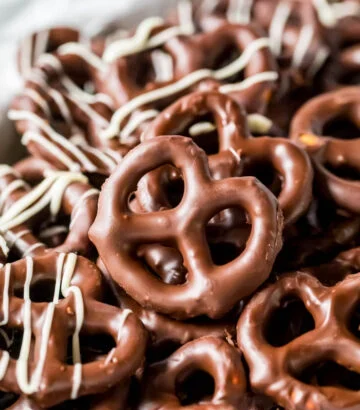
Chocolate Dipped Pretzels
Pretty much anything can be improved with a chocolate coating, pretzels being no exception. A salty-sweet classic, chocolate covered pretzels pop up most often during the holidays, but these are great and easy to make year-round.
What we love about this recipe:
- Simple technique: Other existing chocolate pretzel recipes use techniques that are either too simple and leave you with streaky, chalky chocolate coating, or others are overly complex and require candy thermometers and more patience than most of us have for this simple treat. Mine strikes a careful balance; we melt the chocolate carefully and “faux” temper it, giving us shiny glossy results without too much fuss.
- Versatile. Can be used for mini pretzels or pretzel rods. Customizable with different colored sprinkles, crushed candies, or toffee bits (or really nearly anything you’d like!).
- Perfect for the holidays! Great for gracing your Christmas dessert table or packing into tins for easy homemade gifts.
- Long shelf life: they’ll keep for a few months in the fridge or freezer!
A Carefully-Balanced Technique
These are not a particularly complicated treat to make; melting the chocolate is the most complicated part!
I use a chocolate-melting method similar to the one I use for my chocolate covered strawberries. If you’re looking to truly temper your chocolate (more on this below) follow the steps in my hot chocolate bomb recipe for melting the chocolate. Today I’m skipping the candy thermometer, so we’re not actually tempering the chocolate. Regardless, you’re still less likely to end up with a streaky coating with this method (and even if you do, it’ll still taste good!!).
What You Need
Chocolate dipped pretzels couldn’t be more simple–all you really need is chocolate and pretzels!
- Chocolate. Stick with high quality milk, dark, or semisweet chocolate bars or couverture chocolate (pictured above). I don’t prefer to use chocolate chips–I talk more about this in the FAQ section below.
- Pretzels. I use mini pretzels here, but you could use regular-sized pretzels or pretzel rods, if you like!
- Toppings. Sprinkles, crushed nuts, crushed candies, or a drizzle of white chocolate/colorful candy melts are all great options here! You can also skip the toppings and leave your pretzels plain.
Remember, this is just an overview of the ingredients I used and why. For the full recipe please scroll down to the bottom of the post!
How to Make Chocolate Covered Pretzels
- Add all but 2 tablespoons of your chocolate to a medium-sized heatproof bowl, then set this aside.
- Bring a small saucepan filled with 1-2 inches of water to a simmer over medium heat, then place your bowl overtop (the bottom of the bowl should hover above the water).
- Stir constantly as the chocolate melts, and once fully melted, remove the bowl from the heat.
- Stir in your reserved chocolate until it is completely melted and smooth.
- Dip your pretzels in the melted chocolate, then place on a cooling rack or wax paper lined baking sheet, adding any decorations while the chocolate is still wet.
- Let the chocolate harden before enjoying.
How Important is it to Temper Chocolate?
“Tempering” chocolate refers to a specific method for heating and then cooling your chocolate. Good chocolatiers temper their chocolate in order to to ensure a smooth, glossy finish and firm texture that snaps neatly in your mouth and melts uniformly. If you’ve ever melted chocolate to find it streaky or chalky in appearance, this is because your chocolate wasn’t tempered properly and it “bloomed” meaning the cocoa butter separated from the chocolate (see photo below for an example). It’s important to note that this does not affect the taste, but I think we can agree it just doesn’t look as pretty!
Pretzels dipped in un-tempered chocolate
Tempering can, however, be a bit complicated and fussy. It demands precise, exact temperature control that varies depending on your type of chocolate. Specialized equipment (marble slab, chocolate temperer, thermometer, etc.) is recommended, and it’s honestly just time consuming and requires constant monitoring.
That’s… a lot (especially considering un-tempered chocolate tastes just as good!) so I take a balanced approach that I call faux-tempering. It’s more simple than true tempering and isn’t guaranteed to give you perfectly tempered results, but it works most of the time and isn’t much more involved than melting in the microwave.
The technique is detailed in the recipe below, but essentially we slowly melt the chocolate in a double boiler then add chopped chocolate at the very end to drop the temperature into the tempered temperature range. It’s not foolproof, but it works very well for me!